Print & Play with Cricut Tutorial
For more historical context and details about the card-press tool, see The Card Press Saga. The tutorial was updated on 2026-04-04 to include lamination and foil processes - see more details on Card Pipeline Improvements.
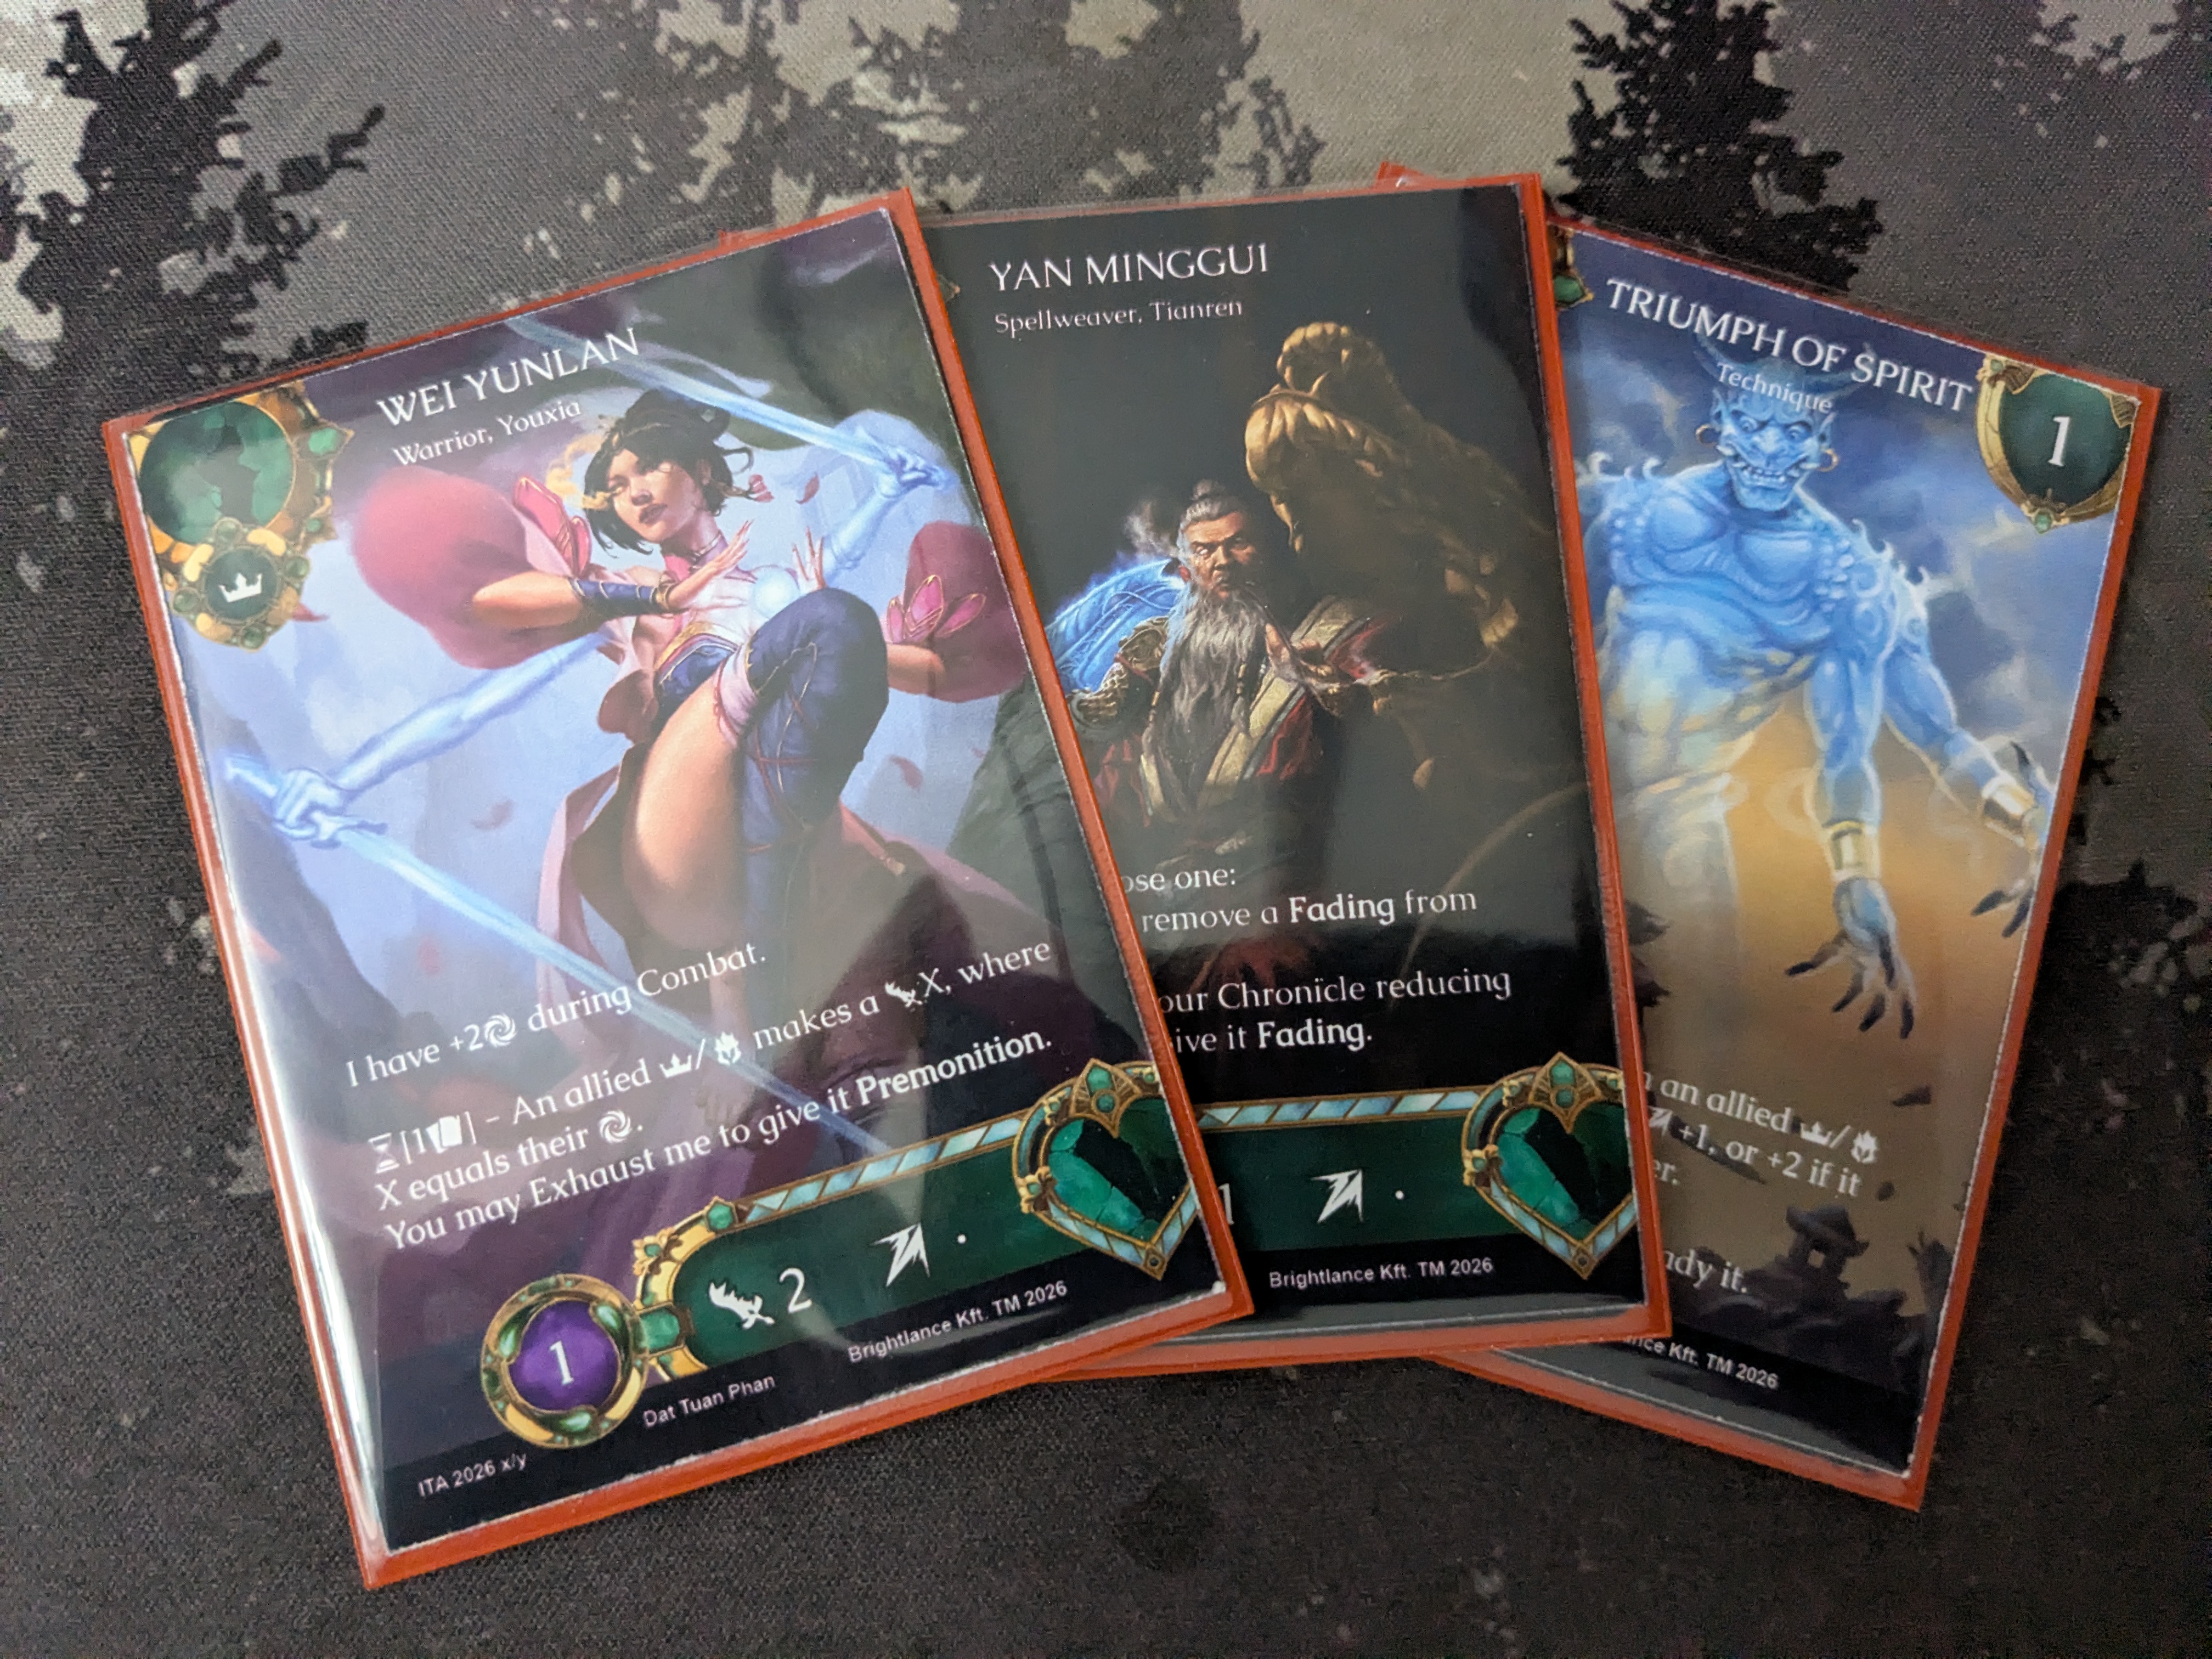
This is a step-by-step tutorial on how to use a printer (that can handle cardstock or photographic paper) paired with a Cricut (we have the Cricut Maker 4 but should be adaptable to other models) to automatically print then cut MTG-sized cards.
Preparation
The Cricut Design Space software is utterly unusable for large quantities of cards, as it requires manually uploading and dragging images one-by-one in the most painful way imaginable. So instead, I made card-press, a fully client-side webapp for generating card PDFs with (I hope) a very easy-to-use (and to automate) interface. It is open-source so feel free to submit any changes or enhancements.
Essentially, we are going to be tricking the Cricut by loading an "empty" template as the cut PDF with just black rectangles, and printing the PDF "on the side" (using card-press) and then selecting the option "I already printed" on the Cricut.
So you will need to:
[one time]Make sure you have the Cricut Design Space and the printer software (in our case, HP Click) installed and configured.[one time]Load my custom template into the Cricut Design Studio software; it matches exactly with the PDF you will generate on card-press. You can also download it here if you don't want to use their "cloud", but manually importing is non-trivial (exercise to the reader).- Load your images onto card-press and generate a PDF using the pre-defined
Letter / Cricut - MTG 2x3template (default). There are many input methods ("import", file picker, drag and drop, copy and paste). If you want card backs, enable that option and generate an additional PDF for the backs.
Materials
There are 3 factors to consider when selecting your paper:
- Size: unfortunately it must be
Letteras that is what the Cricut understands. - Finish: we have
satin,glossyanddouble-glossy(for card backs) finishes; there is also matte. This is entirely up to you. Printing on photo/glossy paper takes slightly longer and requires a drying step, but I think it is worth it. - Thickness: While the
300 gsmcardstock would have a superior card-feel, I found it to sometimes cause jams (in our printer at least). So I've started to use the260 gsminstead. You can always add real cards as backings inside the sleeves for enhanced flickability.
Having made your choice, load a sufficient amount of sheets (according to your PDF) into the printer.
You can also use holographic / iridescent cardstock to make foil cards! The process is exactly the same, you just print on top of the foil paper (not the adhesive / vinyl ones), but make sure your printer is configured to accept it.
Execution
-
Kick off the print job for the entire PDF. Make sure to configure the printer for the type of paper you chose (notably, the type of finish - lest a very inky mess ensues). If you are manually attending and have free cycles in between other steps, you can cancel the in-print drying, very carefully dry the sheets to the side, and let the following pages get a head-start. Surprisingly, when using glossy photo paper, it is the printing that is the bottleneck rather than the cutting.
-
[optional]If you are doing card backs, wait for all pages to finish, recollect them, flip them, and print the backs. -
[optional]If you are doing lamination, you can laminate the sheets once they are dry. Make sure to use the0.3 mmpouches for both ideal card feel and best Cricut smoothness. Laminating before cutting makes removing the cards from the Cricut mat later a breeze, and precludes the need of using backing cards on the sleeves later! It is also a pretty quick addition to the pipeline when compared to the timing of other steps. -
Load the first printed (and dried) page of the PDF into the Cricut mat (I use the Blue / Light Grip but depending on wear and tear it might be slightly too strong or too weak). Try to align it to the top left to the best of your abilities, as the Cricut will not haphazardly scan the entire mat for the cut marks.
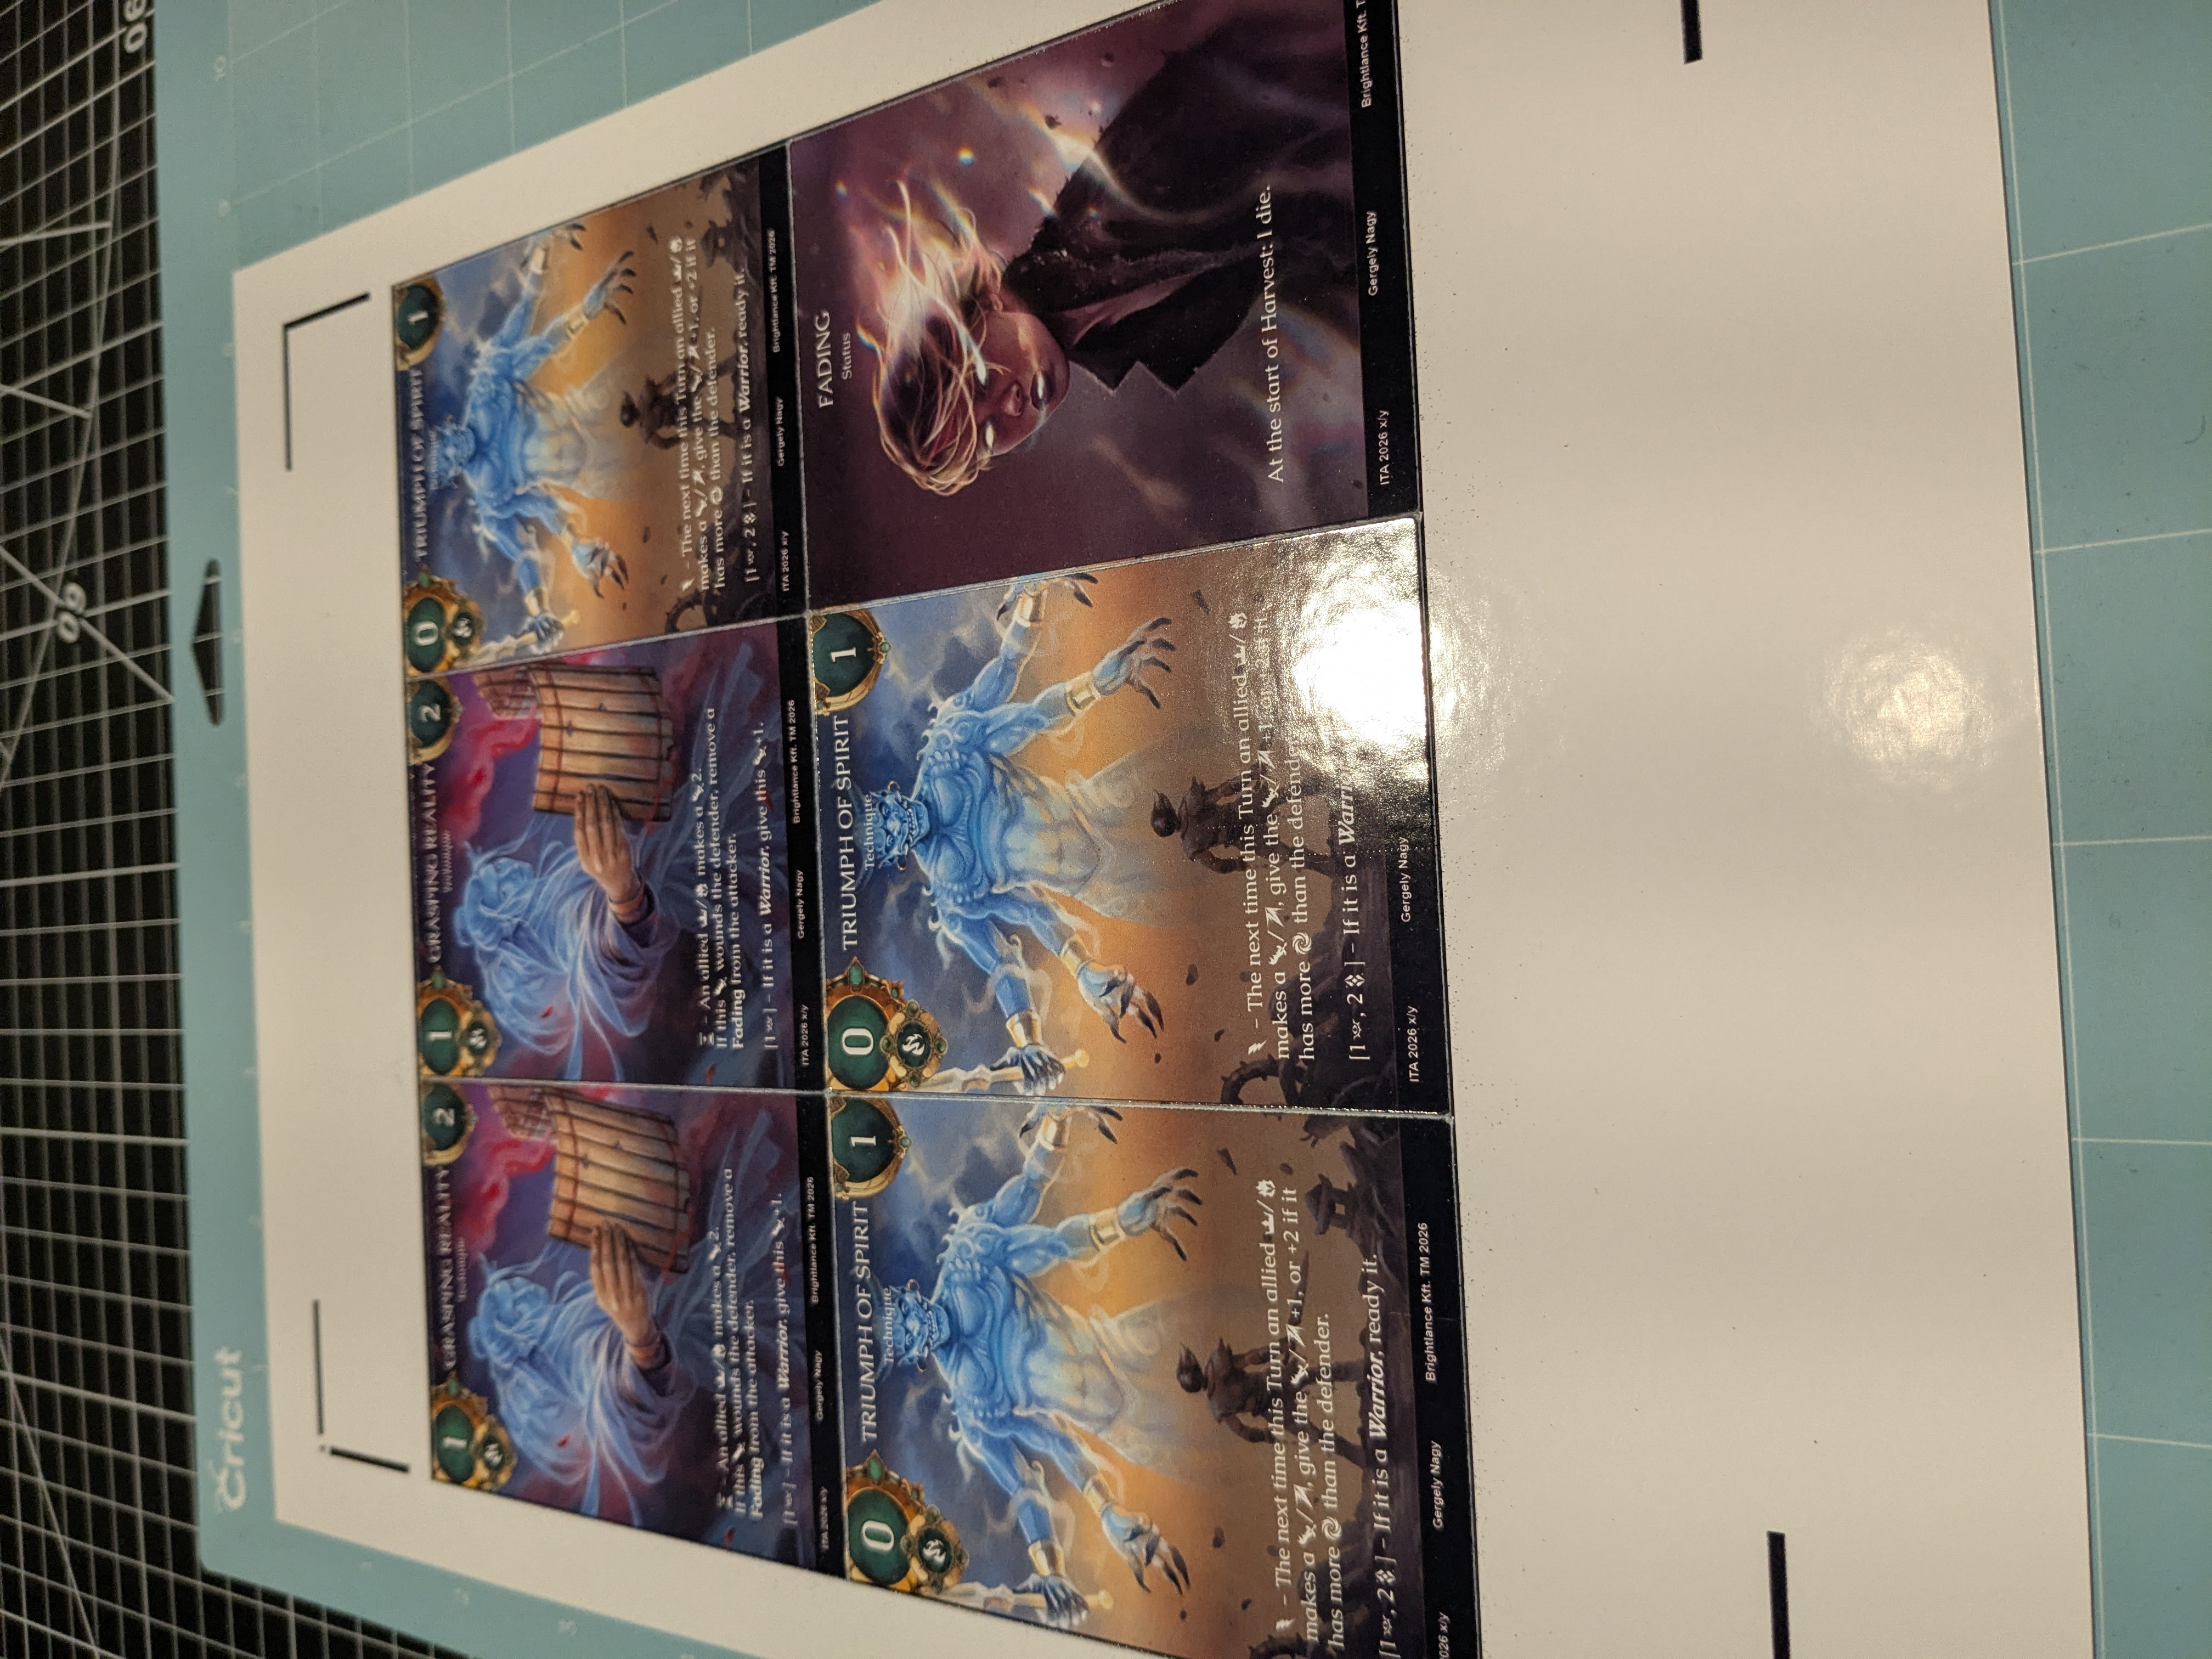
Loading the printed page onto the mat. -
Start to "Make It" (the template) on the Cricut Design Space (you do not need to load any images or change anything). Click "Continue" and then "I've Already Printed". I use the "Heavy Cardstock" material setting, which I have favourited (if you are laminating, you will need a custom profile - I use max pressure and 4x passes). Load the mat and start; let the machine do the work while you focus on what really matters (overseeing it with an air of superiority).
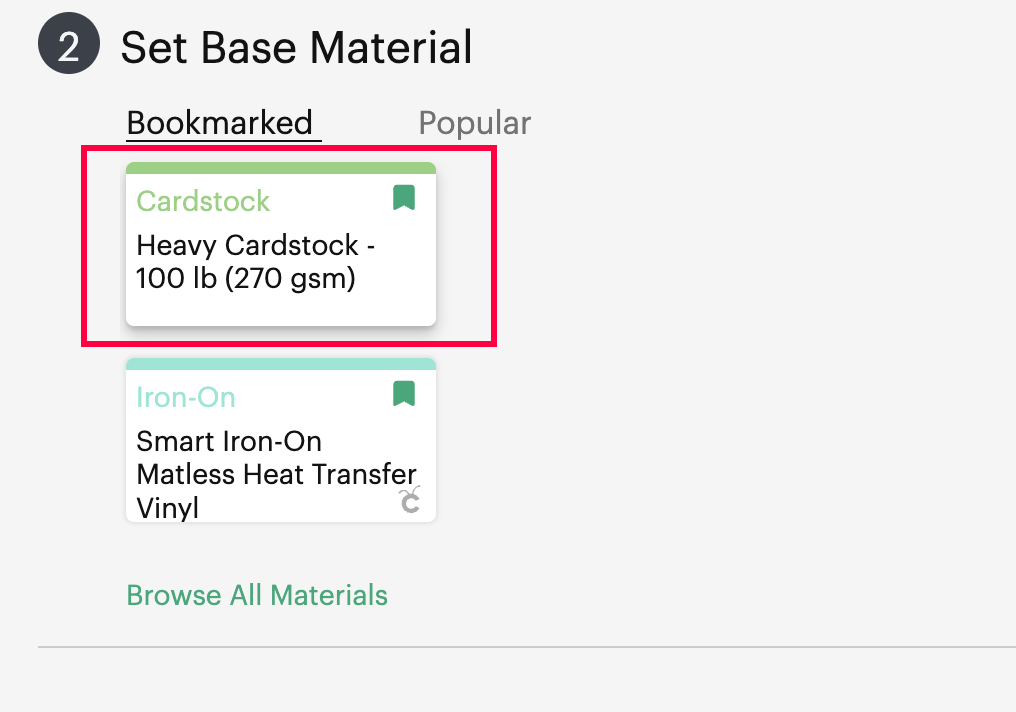
The Base Material setting I use. Despite the label it can cut 300 gsm without issues. -
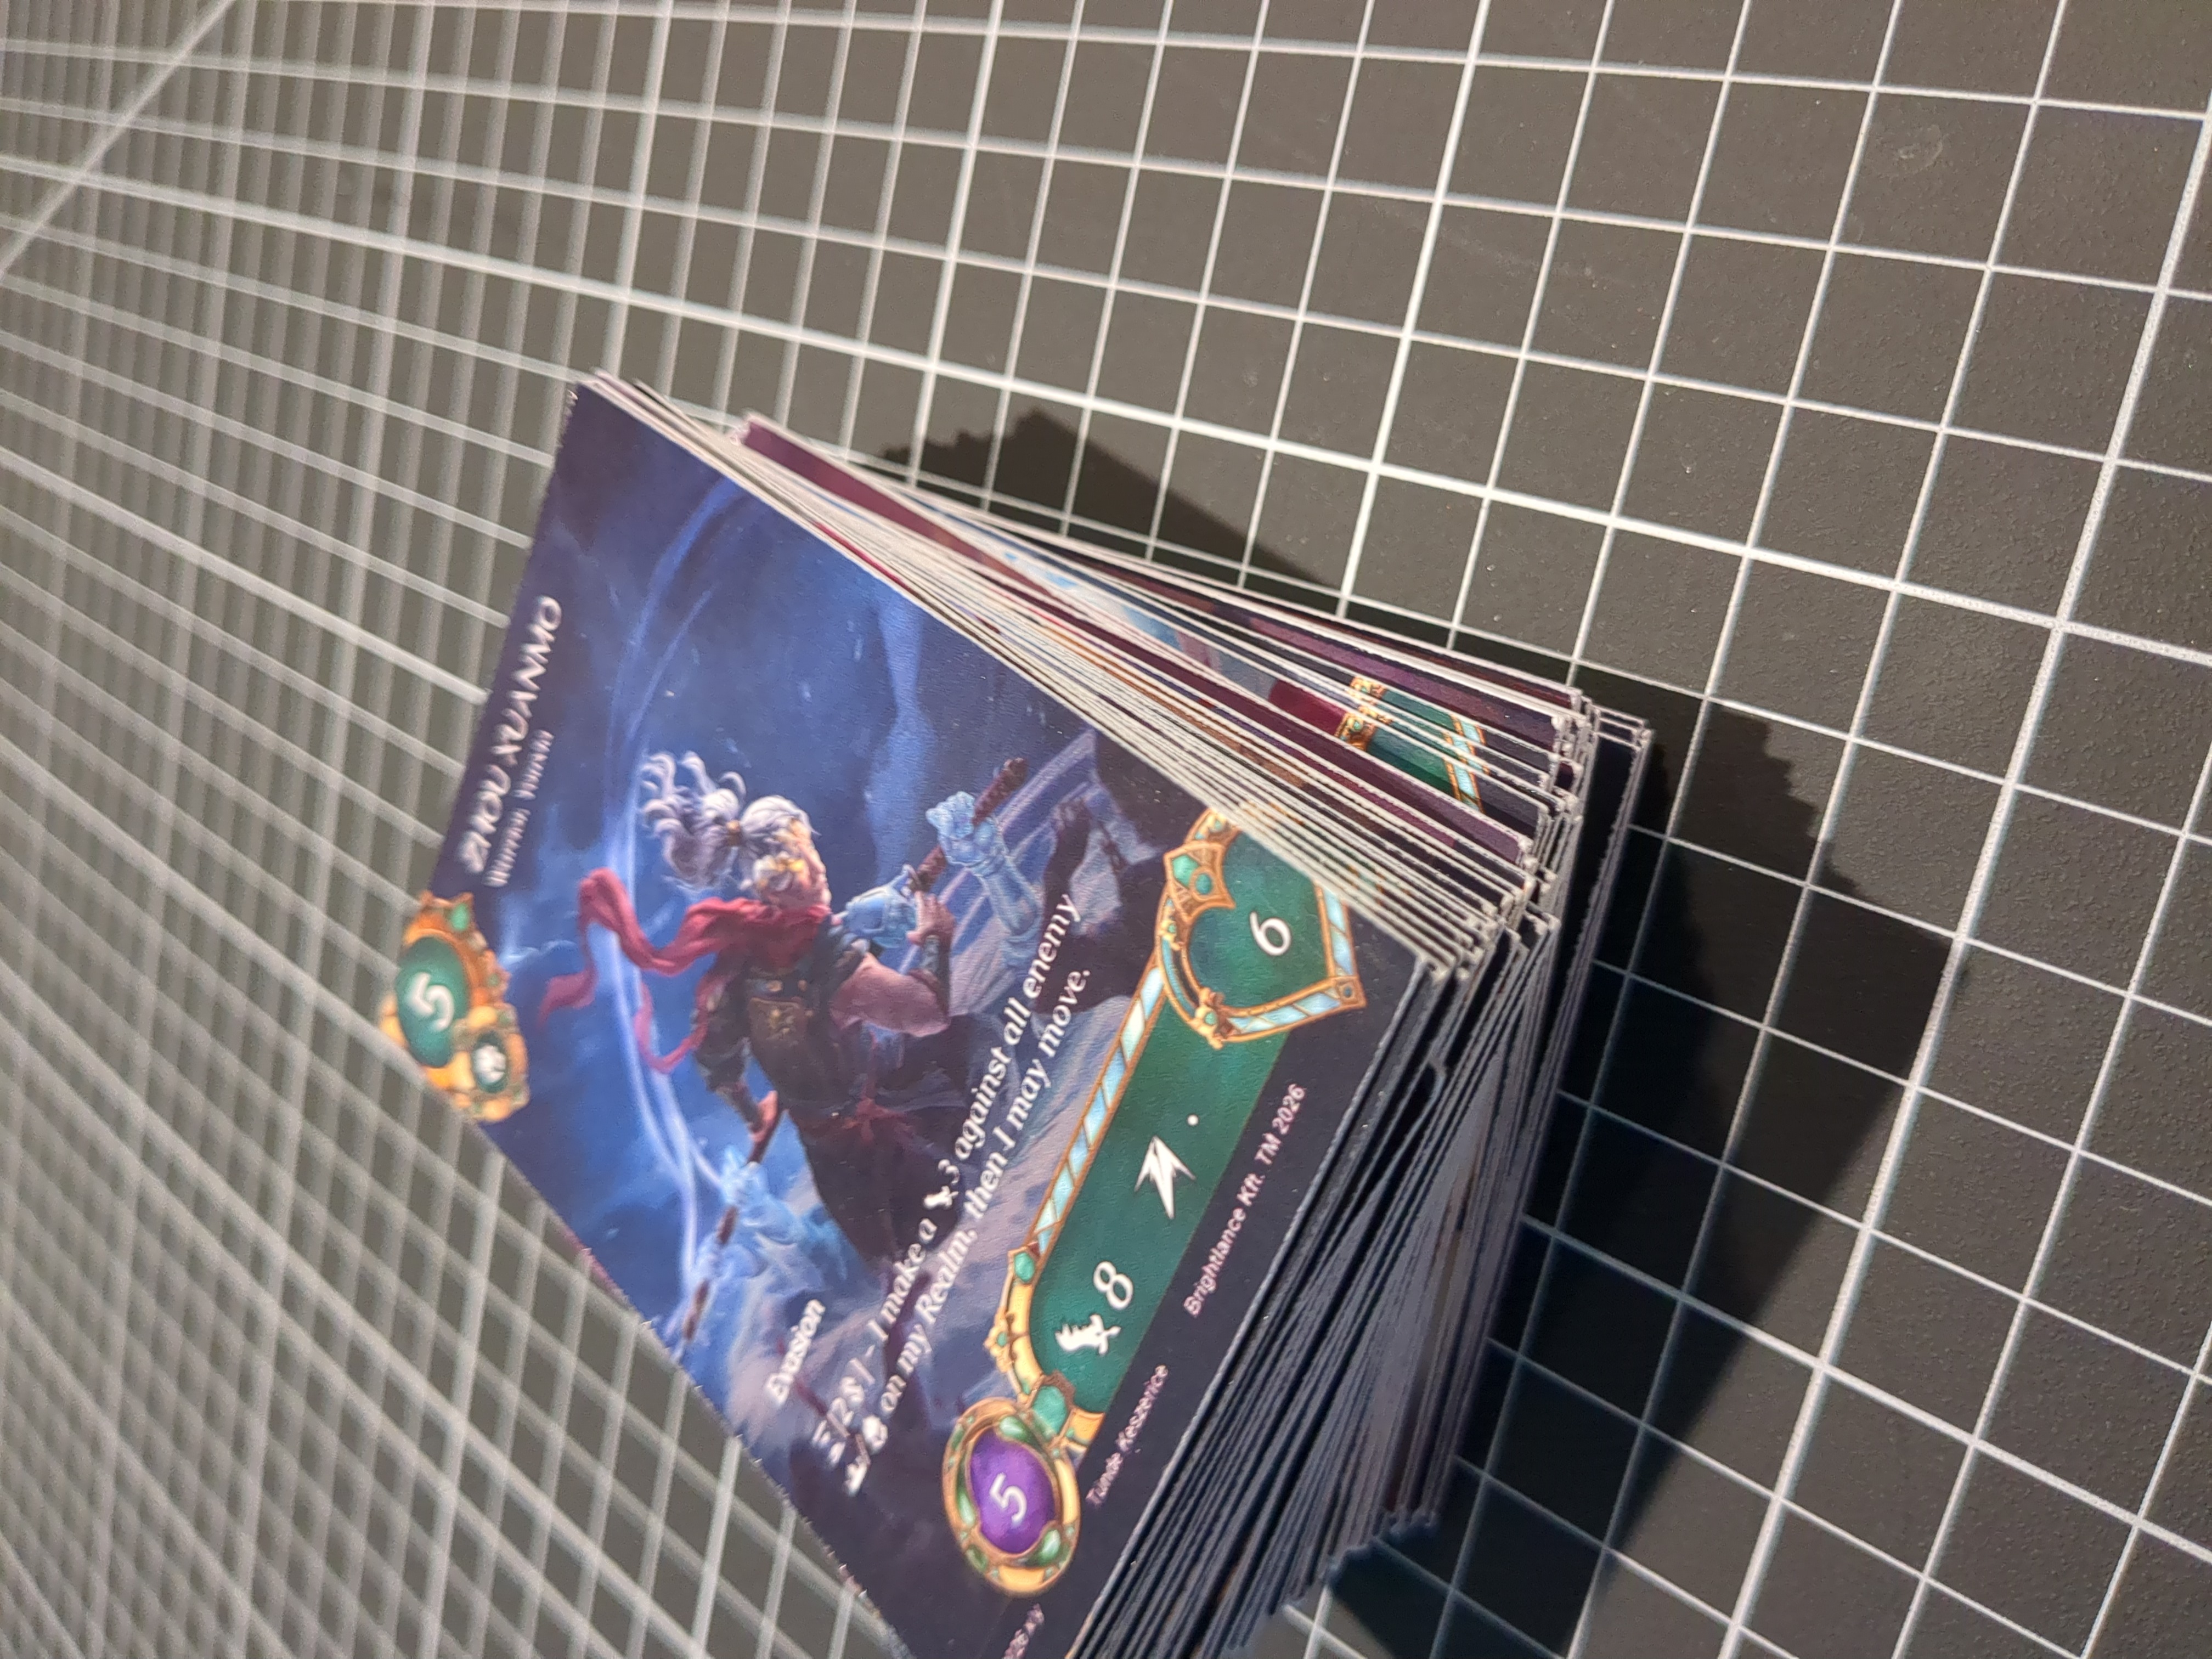
Unload and peel the cards (depending on the adhesive strength, you might need to be very gentle not to bend them, unless they are laminated).
Cards freshly peeled from the mat. -
[optional]If called by the design of your cards, you can use the Kadomaru Pro to round the corners (its smallest setting is the closest I found to the standard MTG border-radius).
And rinse and repeat! The Cricut software will require just one more click to re-do the same cut for the next page. You can very effectively alternate between collecting pages from the printer before they fall, attaching the next dry sheet onto the mat, and coding your next million-dollar project on the side.