The Card Press Saga
If you just want to give it a try, jump straight into card-press.
The source code is available on GitHub.
For a step-by-step tutorial on how to execute the print-then-cut pipeline with the Cricut and card-press, check out Print & Play with Cricut.
The Story
Recently I've been studying the new Cricut Maker 4 that we got for the office. After a thorough intro by our resident expert, I started to wonder how well it would fare as a pipeline for the printing of prototype cards. It is an idea I've had for a while (some sort of automated cutting machine), but never really pursued it.
Previously, as I was experimenting with my (still work-in-progress) games, Dimensional Rift and Flaky Flasks, I'd either:
- print the cards at the office, and cut them myself, through an ever growing assortment of manual cutting implements - which was an excruciating amount of work and resulted in terrible quality due to my thorough lack of artistic ability; or
- paid some pretty penny for the corner print shop - to mixed results in terms of final quality.
As I plan to iterate on those and other game development projects, and since also have other pursuits that require mass printing-then-cutting (trying out new cards and decks from established games, or new games that are online-only, print-and-play, or otherwise niche and hard to find), I decided to give the Cricut idea a go. And, to my surprise, it did not take that much finagling to get it working!
The Paper
I have now trialled reams and reams of papers; I found that 300 gms (that's g/m² - they measure by area density instead of thickness, I can only imagine due to it being a more stable measurement over environmental conditions) is about the thickest our printer can handle; it is not as thick as a real TCG card, but close enough specially if you are sleeving. A well known trick is to add a real card behind the prototype in the sleeve, which also gives you the card back (for transparent sleeves). I usually use non-transparent sleeves and found that a single-sleeved 300 gms proxy has a good give for playing, even without the backing of a real card.
The finish on the paper was also up for debate; I found some people prefer the "glossy", while others were fascinated by the "satin". At first I had some trouble with the glossy print shedding ink (and staining everything), but that was due to my own idiocy on misconfiguring the printer. After enough experimentation, the double-glossy paper (when doing card backs) or the single satin (for no backs) emerged as winners.
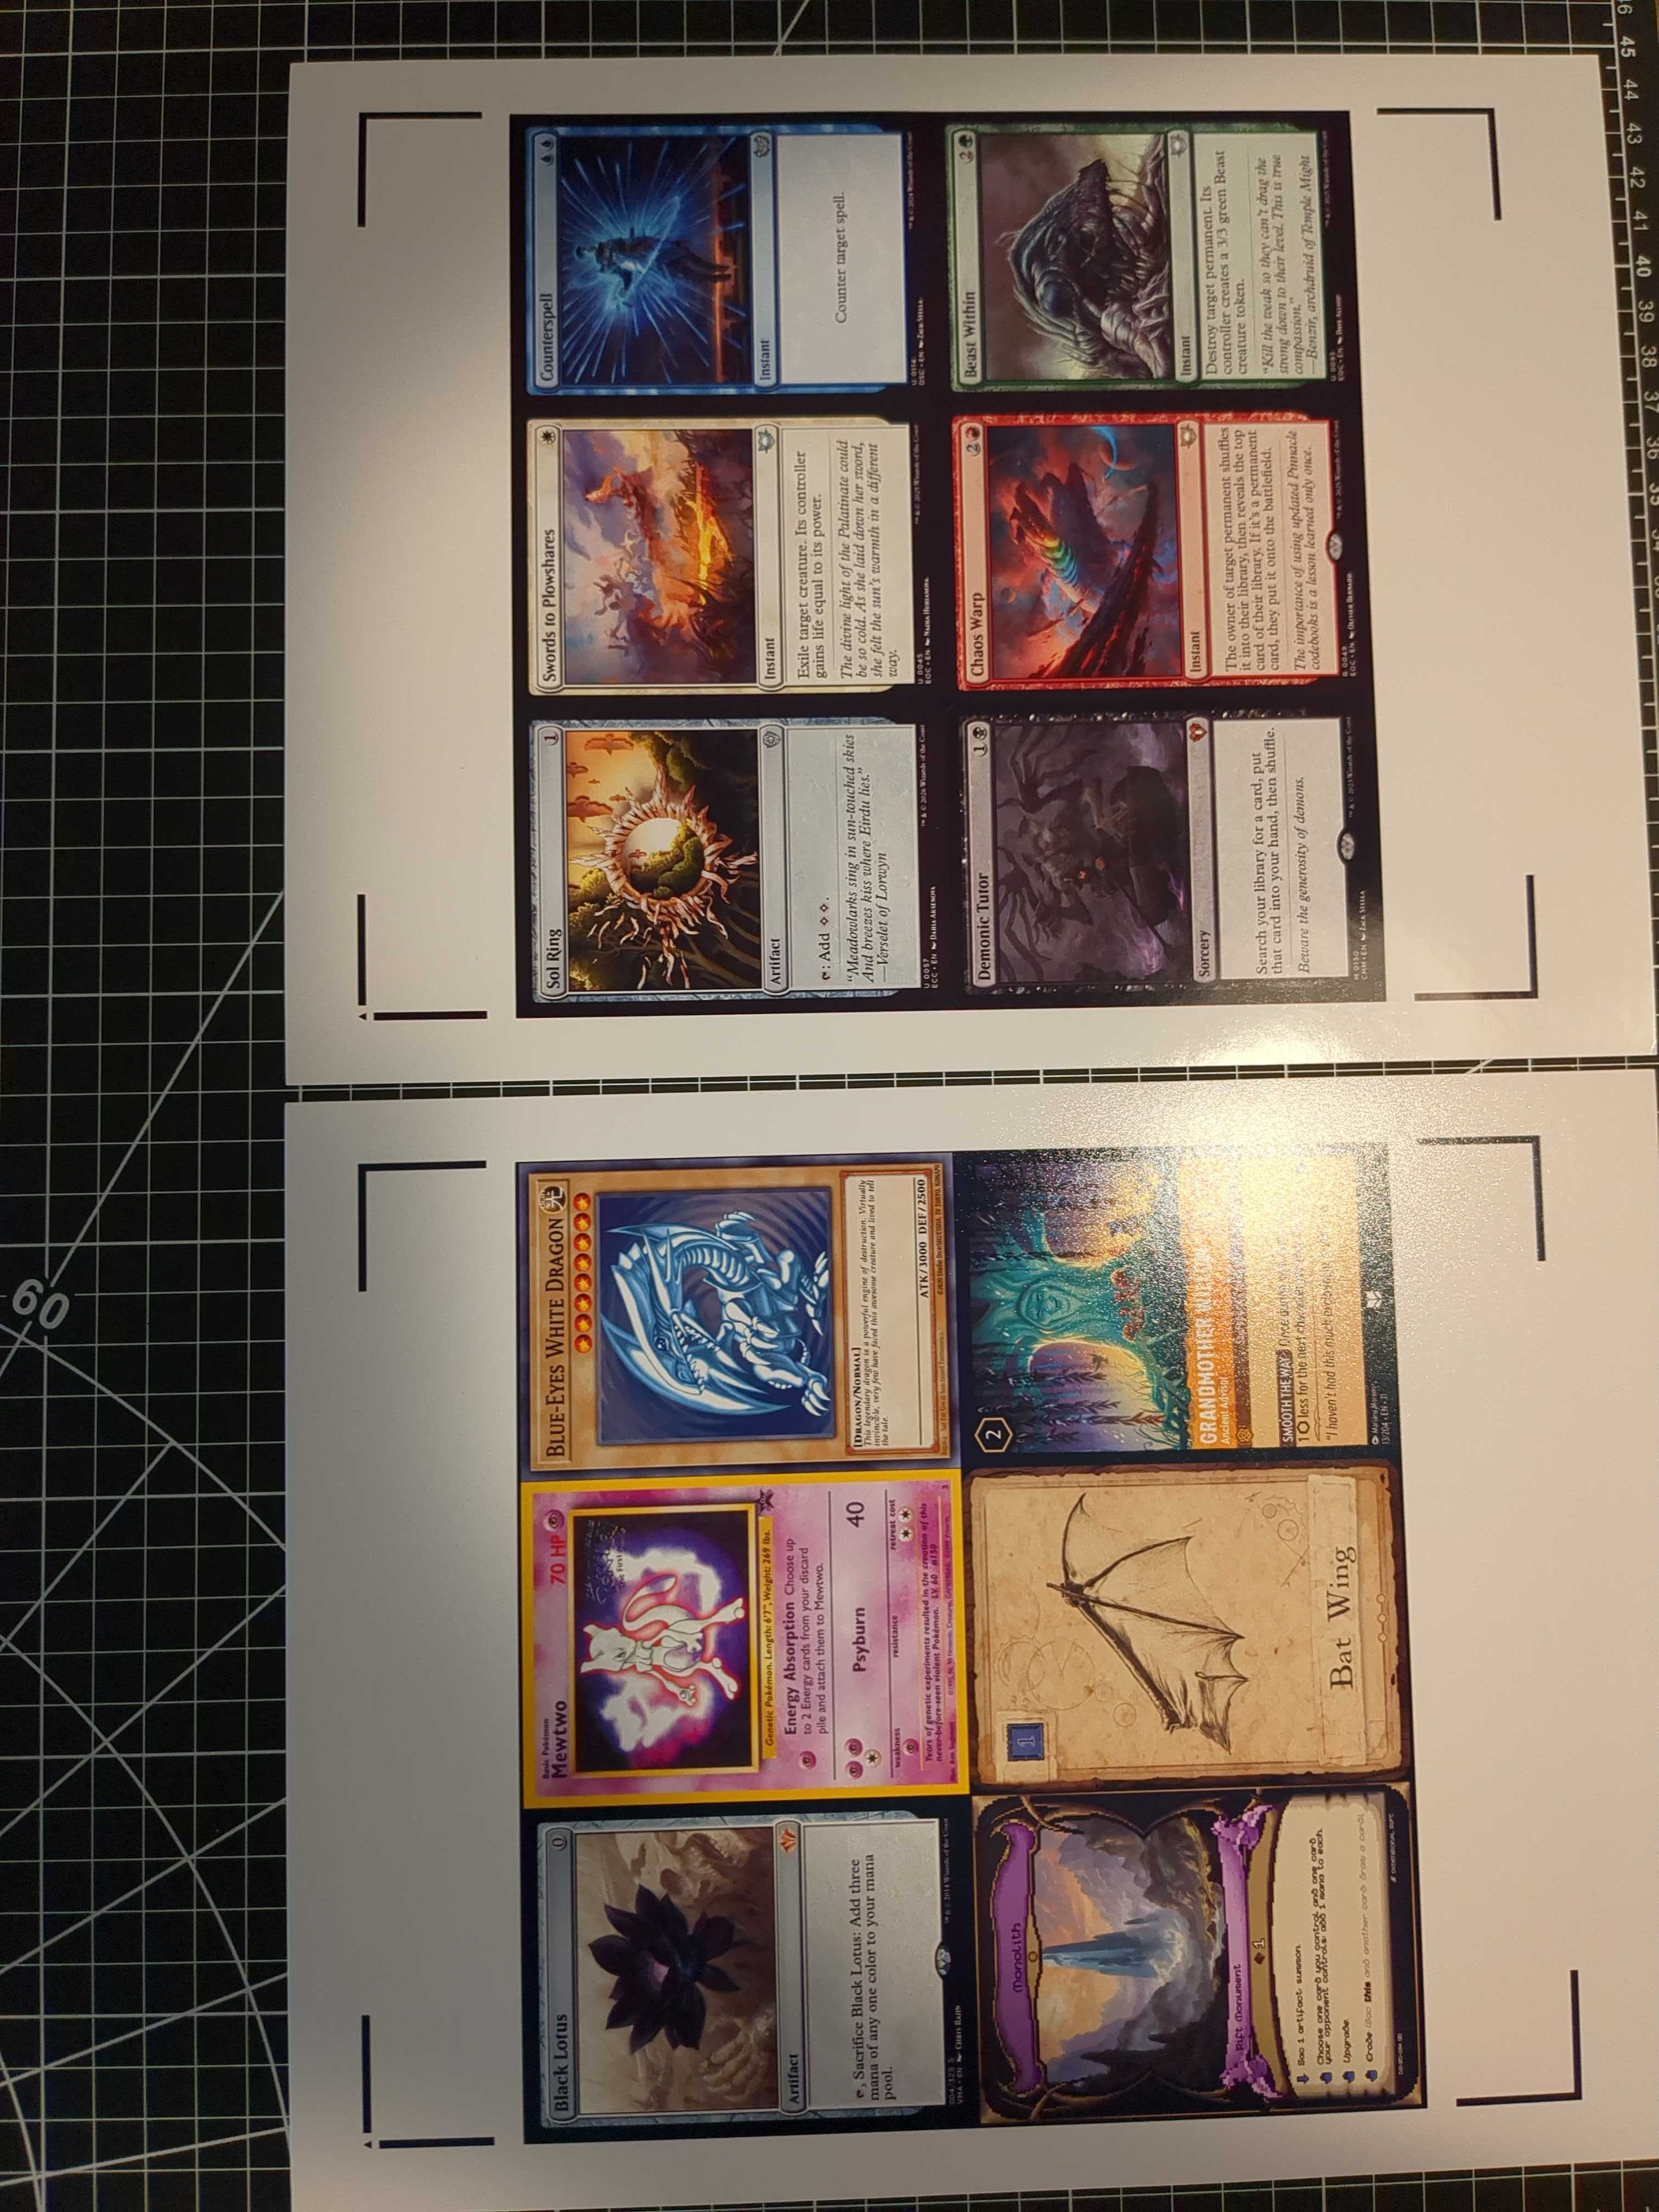
The final variable was the paper size (i.e. dimensions). While I could easily squeeze a 3x3 MTG-sized grid on both A4 or Letter (and our printer can actually do even bigger paper sizes through a roll), the Cricut not only will exclusively cut a Letter-sized sheet (much to the dismay of any sane person), but the required template has expansive margins and cut marks, precluding any hope of fitting more than a 3x2 grid (which even then barely fits). There is some wasted paper - but the benefits of automatic cutting are beyond worth it.
With all that in mind, my current best pick for paper ended up being the Koala 300 gms double-glossy.
The Workflow
Even after creating and saving a "template" through very manual construction, the Cricut Design Space software (whether for the cut-and-print or anything else really) absolutely sucks for repeated workflows. You have to manually drag in the images (through a convoluted unskippable upload flow) on a new "project" each time; re-align, re-flatten and re-group; all by hand. I started to memorize coordinates so I could more easily input them. That is not a good sign. There seems to be no templating functionality whatsoever, no way to issue commands, nor to automate anything. Using it would be a nightmare for anything larger than a single page (of, remember, 6 measly cards).
So, I made my own software. Turns out the two parts of the process (printing and cutting) can be fully decoupled. My tool will generate the PDF for printing (using the Cricut or any other template as a base, with cut marks and all); and, then, to actually cut, you can just load up the empty Cricut project (without the card images or any modifications required). The cutting part does not care whether there are images or not - we trick the machine into thinking it is just cutting 6 black rectangles. In reality the images are there, because we printed an altogether different PDF (from my tool), that just so happens to perfectly align with the Cricut project.
The Software
card-press is a fully client-side webapp for generating print-then-cut PDFs for playing cards for TCGs, board games, or any other projects. Why yet another card template generator? I had a few design goals in mind; in order:
- support custom PDFs as templates (for the Cricut print-and-cut workflow);
- webapp (easily accessible) but fully client-side (fully offline, no uploading of any kind);
- ease of use; minimal but pleasing UI; zero fuss.
Even not considering the Cricut requirement, I couldn't find anything that satisfied my other goals. It is definitely still a work in progress, but ready to start battle testing. I've added additional features such as:
- very configurable and customizable;
- multiple sessions and templates, all saved locally;
- (mass) card upload via file picker, drag-and-drop, or pasting from clipboard;
- import cards from established TCGs (and my own);
- generating an additional "backs" pdf for printing on the other side of the sheet.
One important caveat to note: since all data including templates and card images is stored locally (on your local storage and indexed db), it will inevitably become slow if you load up a large swath of very high-res images. Though you are hopefully not going to be printing multiple hundreds of cards six a time (there ought to be better solutions at that point), if you notice any resource hogging (disk or otherwise), your storage can easily be managed through the Config tab.
I hope card-press helps anyone interested in card crafting!
The Final Touch
The final touch was the Kadomaru Pro corner cutter, whose ease of use is only surpassed by how satisfying its actuation is. It was the smallest corner radius I could find for the price, but still a bit bigger than a standard MTG rounding. I haven't explored making a rounded-corner template on the Cricut, but I suspect that would work very well, and also be fully compatible with card-press (should anyone wish to explore it).
This was a fitting end as the whole process could have been described as me trying to "cutting corners" on my previously excruciatingly manual process (though in this case the end result is so much better - I am relieved no none shall endure my cutting accuracy ever again). I am now excited to get back to work on my card games, knowing how painless, good, and cheap my prototypes will be. Who says you can't pick all three?